
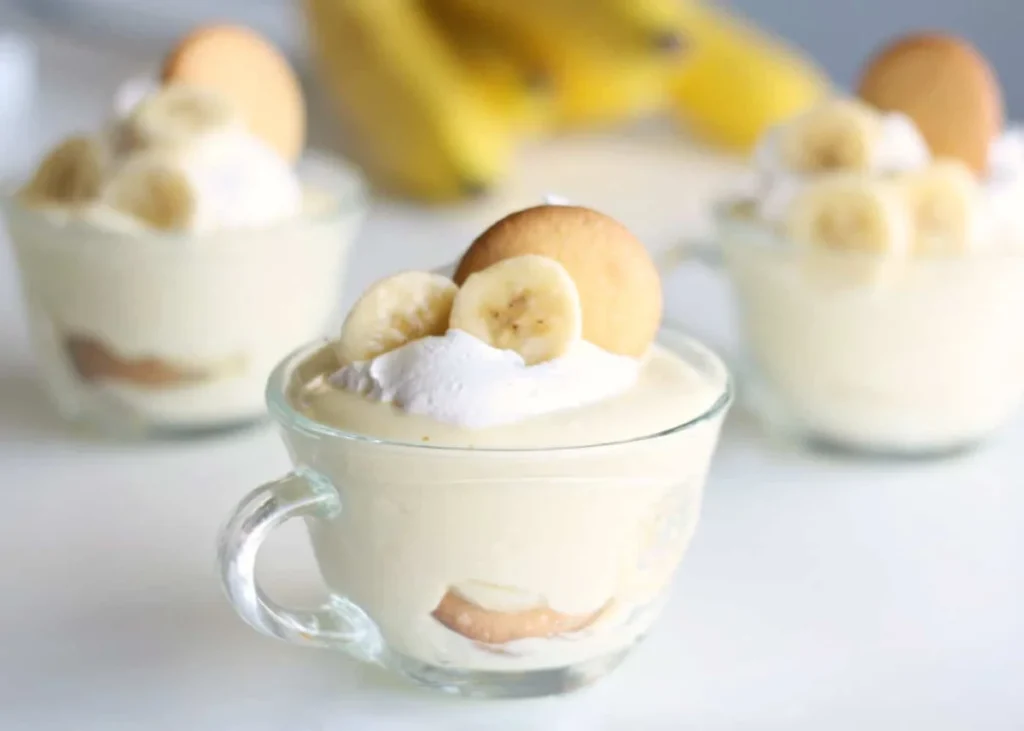
It’s the end of the week. The bananas on the counter have passed the point of no return, and the idea of making dessert from scratch makes you check the time twice.
This is the dessert I make on nights like that.
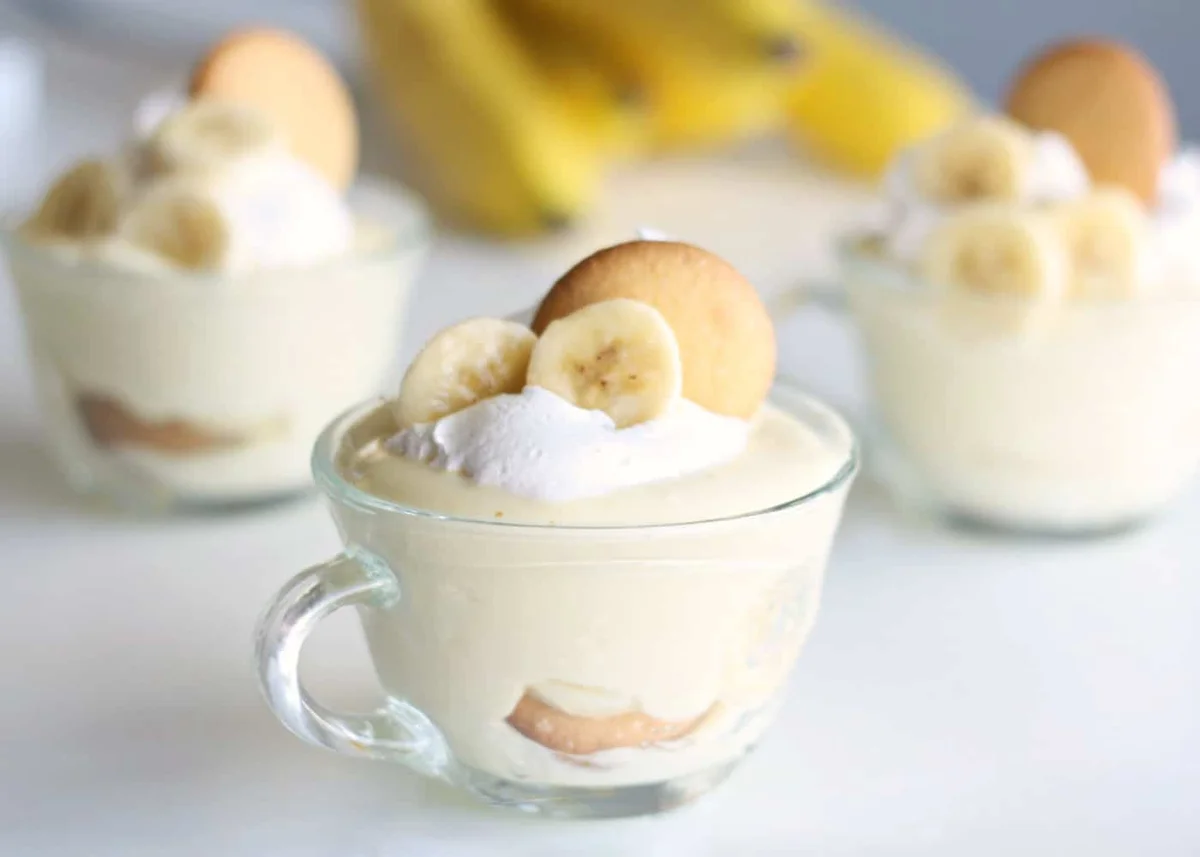
It uses instant banana pudding mix instead of homemade custard, so you get the creamy, layered, quietly addictive thing people go back for — without separating egg yolks or babysitting a double boiler. It’s the kind of recipe that tastes homemade and behaves like one too: mix, layer, chill, grab a spoon.
And it’s cheap. About $10 for a batch that feeds 6.
Why this one works
I’m not a “dessert from scratch” person. I admire the people who are — the egg yolk separation, the constant stirring, the whole ritual. But most nights my only real ingredient is tiredness. This pudding is built for those nights.
✓ No custard to watch. The instant mix thickens in a few minutes and won’t lump if you beat it properly.
✓ No baking. No oven, no cleanup beyond a bowl and a pan.
✓ The layers get better as they chill. Straight from the pan the wafers still crunch a little. After 20 minutes in the fridge they soften to almost cake-like, and the whole thing tastes more put-together than the effort it took.
✓ Ripe bananas hold their shape. Pick ones that are mostly yellow with a few brown speckles — sweet, but firm enough to keep their edges between the layers instead of melting into the pudding.
Ingredients
Everything is standard supermarket stock, and the whole list runs about $10:
- 1 can (14 oz) sweetened condensed milk
- 1 1/2 cups cold water
- 1 box (3.5 oz) banana instant pudding mix
- 1 tub (8 oz) whipped topping
- 36 vanilla wafers (Nilla Wafers or similar)
- 3 medium bananas
You’ll need a mixing bowl, a square baking pan, and a spatula. Prep takes 10 minutes, chilling takes 20, and the whole thing is on the table in 30.
5 simple steps
1. In a large mixing bowl, combine the sweetened condensed milk and the cold water.
2. Stir in the pudding mix and beat until smooth and fully blended.
3. Chill it in the refrigerator for at least 5 minutes.
4. Carefully fold in the whipped topping with a spatula — slow and gentle so you don’t deflate it.
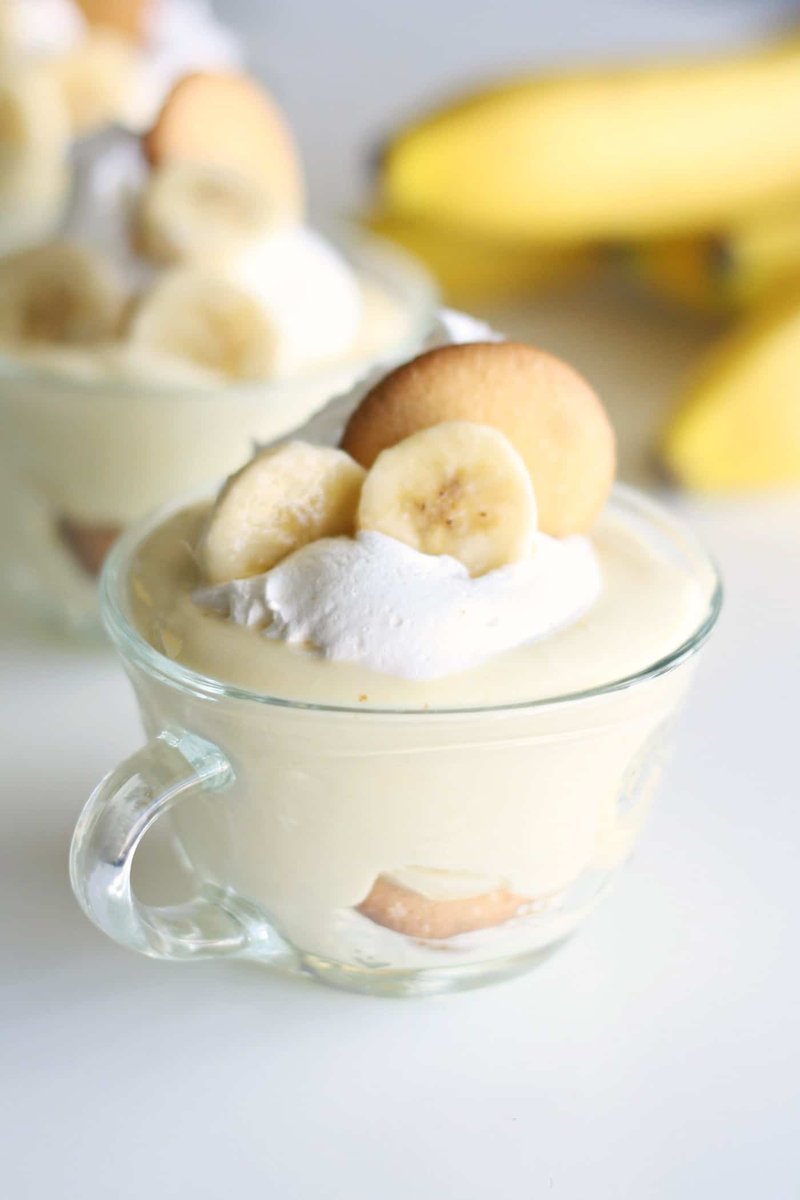
5. In a square baking pan, layer it up: a layer of pudding, a layer of wafers, sliced bananas, more pudding, and so on. Press a few wafers around the edge of the top for a finished look. Then chill thoroughly — about 20 minutes — and refrigerate the leftovers.
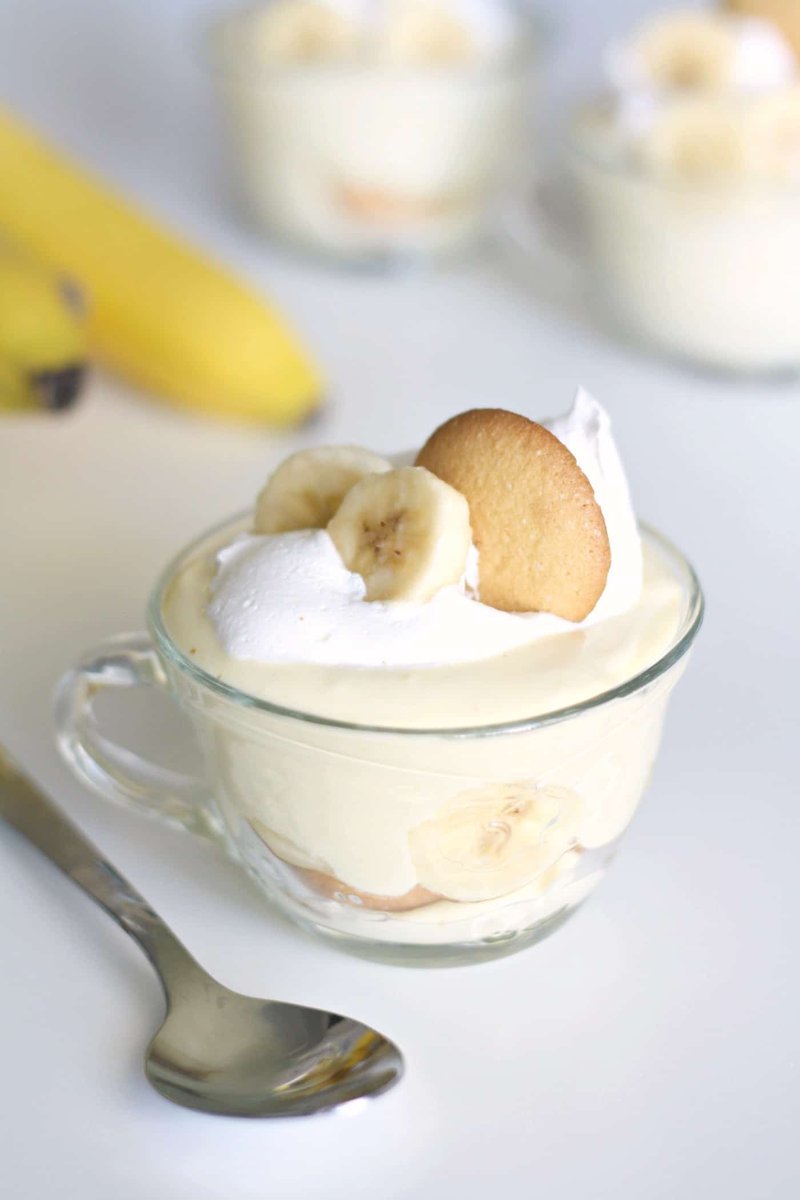
That’s the whole recipe. If you’re making this ahead, dip the banana slices in a little diluted lemon juice before layering — it slows the browning without changing the flavour.
And don’t stress the layers. This isn’t a dessert that has to look flawless. One spoonful and the neatness is gone anyway. People remember the creamy part and the banana part. That’s enough.
Make it your own
Swap the wafers for any plain round biscuit you have in the cupboard. Add a handful of chocolate chips between layers if you want something closer to a dessert bar. And if your bananas are already fully brown, mash one into the pudding base for extra depth.
Start today
✓ Check your counter for bananas past their prime — that’s your signal.
✓ Grab a box of instant banana pudding mix and a can of condensed milk on your next shop.
✓ Make one batch this week and let it chill the full 20 minutes. I promise the second helping lands faster than the first.
Today’s tiny step
Set one banana on the counter where you can see it and let it ripen. That’s the whole step — tomorrow you’ll have dessert covered.
— E, your habit neighbor